

Quick answer: Create a safe, grab-and-go system that separates hazardous products, groups items by use, and keeps frequently used supplies within reach.
Organize cleaning supplies by first deciding where and how you use them, then sort into zones (daily, weekly, seasonal), choose durable containers and childproofing, and maintain the system with simple labeling and a quarterly purge. The rest of this article walks through that process step by step, with practical alternatives for small spaces, families and rental homes.
Decide the end-state: one visible system per location
Before moving bottles, imagine the target for each storage spot: under-sink space should hold daily kitchen cleaners and dish tools; a laundry closet holds detergents and stain removers; a hallway closet or utility room keeps mops, brooms and bulk supplies. Aim for one clear organization system per location so you (and housemates) know where to go.
Step 1 — Take inventory and sort by hazard and use
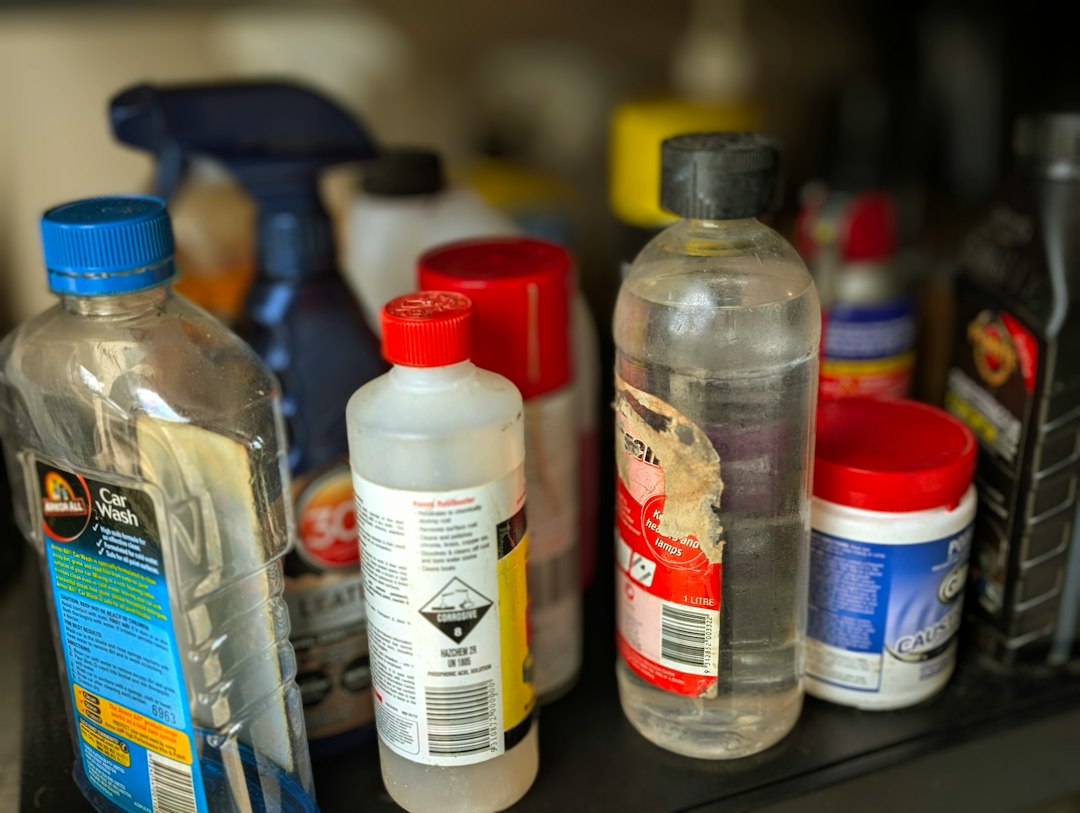
Pull everything out and sort into these piles: 1) everyday cleaners (all-purpose spray, dish soap, sponges), 2) specialty products (oven cleaner, drain opener), 3) powders/bleach, 4) tools (mops, brushes, vacuums), 5) empty or nearly empty containers for recycling. Always separate concentrated or corrosive chemicals—store them where they can't spill onto other items.
Step 2 — Choose containers and layout for safety and efficiency
Match containers to the storage spot:
- Under-sink: use a shallow bin or turntable (lazy Susan) to prevent spills from getting lost at the back.
- Closet shelves: clear stackable bins with front labels let you see inventory without unpacking.
- Open shelving: use lipped trays or baskets to contain drips and keep bottles upright.
- Utility closet: install a wall-mounted broom/mop holder to free floor space and prevent leaning tools from toppling.
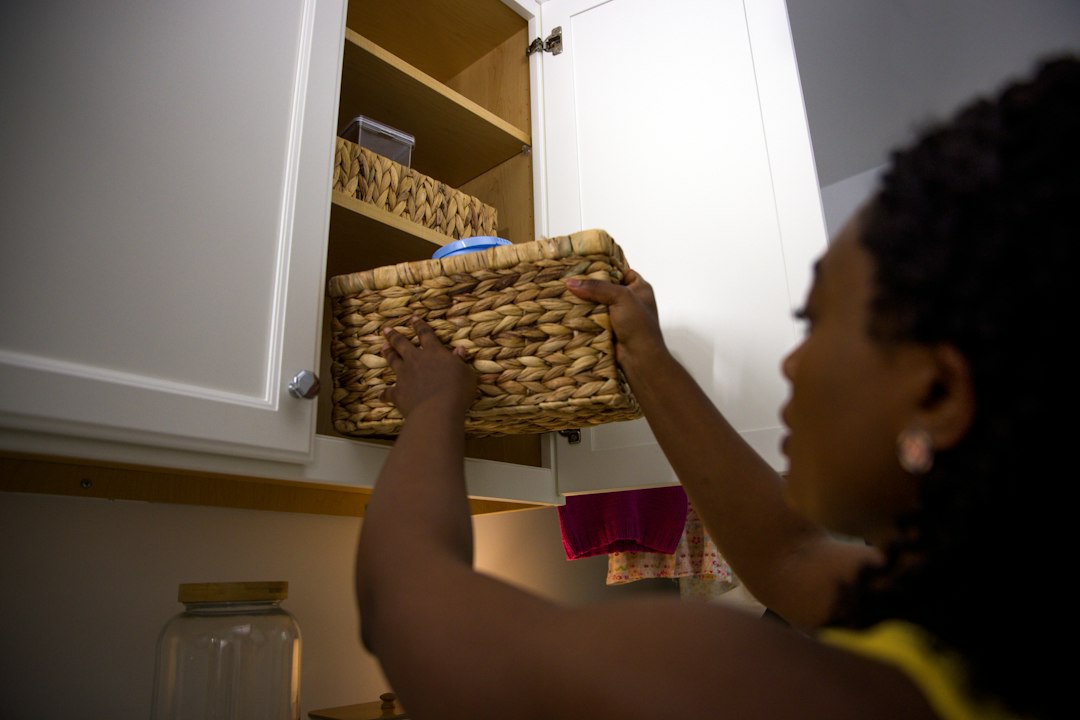
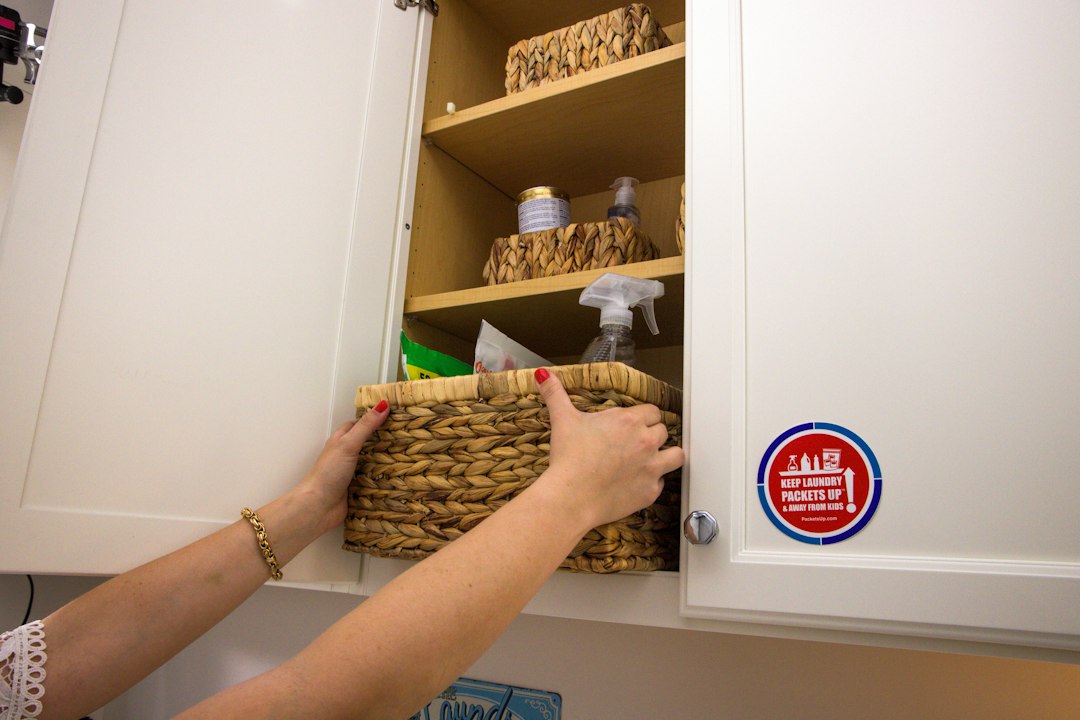
Place hazardous items on higher shelves out of children’s reach or in a locked cabinet; place daily-use items at eye level or in a portable caddy for quick access.
Step 3 — Make everything visible and labeled
Label bins by category (e.g., “Glass & Surface,” “Floor Care,” “Bleach & Drain”) and add simple usage icons if helpful. For partial bottles transfer liquids into clear, compatible containers only if their original label is unreadable—otherwise keep original labeling for safety instructions. Use waterproof labels or a label maker so markings stay legible near sinks or mop buckets.
Step 4 — Childproofing and pet safety
For households with children or pets, childproofing is non-negotiable. Options include:
- Cabinet locks or magnetic locks for accessible under-sink areas.
- High shelves or locked boxes for bleaches and drain cleaners.
- Opaque bins with lids for poisons (ant killers, rodenticides) stored separately from everyday cleaners.
Keep emergency phone numbers and the product labels together in a small waterproof bag attached inside the cabinet door for quick reference.
Step 5 — Create a grab-and-go caddy
Assemble a portable caddy with the supplies you use for regular maintenance: all-purpose cleaner, glass cleaner, microfiber cloths, scrub brush, and a small spray bottle with diluted disinfectant if needed. Keep it on a mid-level shelf or in a hallway closet so it’s easy to grab for quick jobs. This reduces the temptation to leave products on counters.
Step 6 — Store large and heavy items strategically
Store heavy items like jugs of detergent on lower shelves to avoid lifting injuries. Mops, brooms and vacuum cleaners should be hung vertically or stored upright in a narrow closet; use a broom holder or wall clips to keep heads off the floor and allow them to air dry between uses.
Step 7 — Plan for refills, recycling and empty bottles
Keep a small bin for empty or nearly empty bottles so you can consolidate or recycle them weekly. If you use concentrated cleaners, mark when a bottle was opened and create a “reorder” checklist—this avoids last-minute purchases and stacking duplicates. For green cleaning, reuse refillable spray bottles and keep a stash of measured concentrate packets.
Troubleshooting common constraints
Small apartments: Use vertically stacked clear bins and door-mounted organizers. A slim rolling cart can tuck into a pantry or closet and serve as the caddy and storage.
Rented homes with limited hardware permissions: Choose freestanding options—over-the-door racks, tension poles with hooks, and adhesive-mounted organizers that remove cleanly.
Shared households: Label owner or room on personal items and keep a community caddy for shared areas. Set simple rules: return caddy after use and report empty supplies.
Maintaining the system: weekly checks and quarterly purges
Quick weekly checks: top up the caddy, empty the recycling bin of bottles, and wipe down shelves. Quarterly: inspect expiration dates, consolidate duplicate products, and test cabinet locks. A 10–15 minute seasonal review prevents clutter from re-accumulating and keeps hazardous items controlled.
Where to put what — practical placement guide
- Kitchen under-sink: dish soap, sponges, all-purpose cleaner, trash can liners, small scrub brush.
- Laundry area: detergent, fabric softener, stain removers, oxygen bleach, measuring scoop.
- Bathroom cabinet or closet: glass cleaner, mildew spray, toilet cleaner—lock or place high if needed.
- Utility closet or garage: bulk supplies, heavy-duty cleaners, pool chemicals—always separate from household cleaners and ideally in sealed containers.
- Sort all supplies by use and hazard.
- Choose bins/holders sized for each storage spot.
- Label bins and retain original product labels.
- Install childproofing where necessary.
- Create a grab-and-go caddy for daily tasks.
- Schedule a quarterly purge and weekly top-up.
Organize cleaning supplies by zoning storage to how you use products, choosing containers that prevent spills and keep items visible, and protecting children and pets with locks or high storage. A portable caddy plus simple labeling and short weekly checks will keep the system working with minimal effort.
How should I store bleach and ammonia?
Keep them in their original containers, store separately (never together), place them on low shelves in a secured area and out of reach of children and pets.
Can I transfer cleaners into new bottles?
Only transfer if the original label is unreadable; immediately label the new bottle with the product name, active ingredients and safety instructions.
What belongs in a cleaning caddy?
Include one all-purpose cleaner, glass cleaner, microfiber cloths, a scrub brush, and gloves—tailor it to the rooms you clean most often.
How do I childproof an under-sink cabinet without drilling?
Use adhesive magnetic locks or a freestanding latch bar; keep dangerous chemicals in a locked box if extra security is needed.
How often should I replace cleaners?
Check expiration dates and manufacturer instructions; many diluted cleaners are effective for months, but strong oxidizers or sanitizers should be replaced according to label guidance.