

You’re midway through making dinner when you reach for a can of tomatoes—and realize there are three older cans buried behind a box of cereal. That small pause becomes a larger scramble: hunting, opening packages, and deciding whether to risk an expired spice. Organize your pantry so those interruptions stop happening and you can cook smoothly.
What you’ll get: a pantry that saves time while you cook
The goal is a pantry where you can scan, grab, and go: visible staples, grouped ingredients, rotated stock, and a few reliable tools that speed decision-making. Achieve that by decluttering, zoning, choosing containers, labeling, and maintaining a simple rotation habit.
Start by clearing and assessing what you have
Empty one shelf or cabinet at a time and sort everything into four piles: keep, toss/expire, donate, relocate (items that belong elsewhere). Look for partial bags, duplicate unopened items, and spice jars you never use. This step answers two questions: what you really keep and how much usable space you actually have.
Set pantry zones based on how you cook
Design zones so your most-used items live closest to prep areas. Typical zones:
- Everyday staples: oils, salt, pepper, frequently used canned goods—keep these at eye level near the stove.
- Cooking ingredients: flours, sugars, grains—store where you measure and bake.
- Breakfast/snacks: cereals, granola, snack packets—near the pantry door or a lower shelf kids can reach.
- Meal kits and bulk: containers or baskets for items you combine often (e.g., taco kit basket with tortillas, salsa, seasoning).
- Occasional/backup: holiday items, specialty flours—place higher or lower since you access them less.
Arrange zones based on your habits; a family that snacks frequently will want snack access at a kid-friendly height, for example.
Choose containers that match the food and shelf dimensions
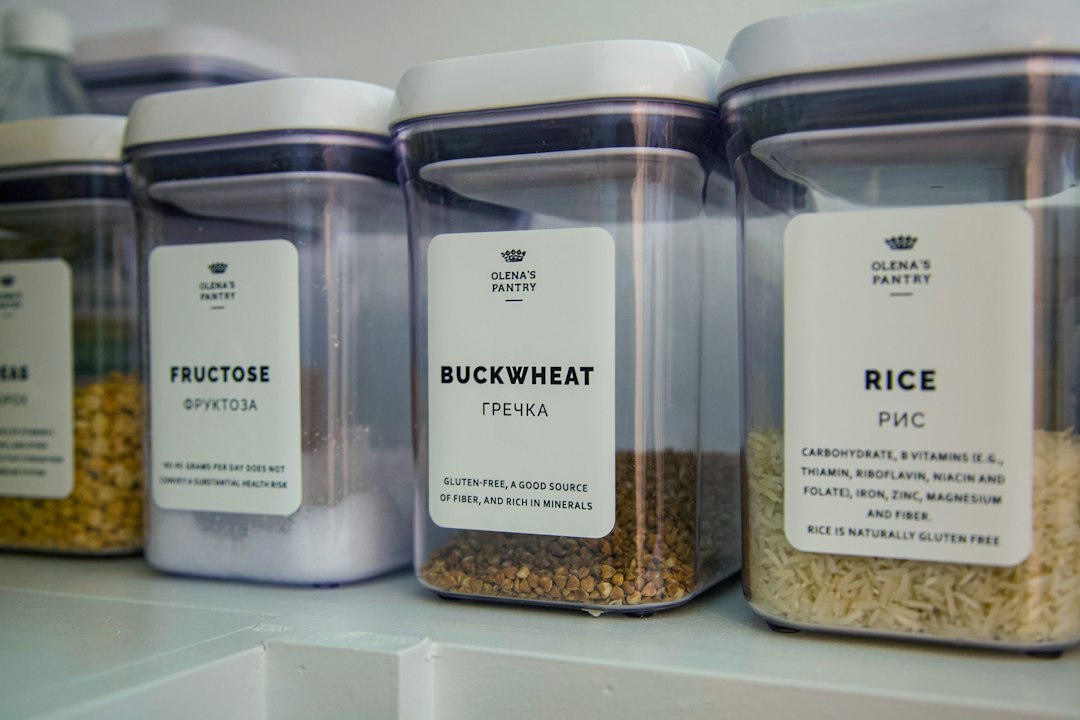
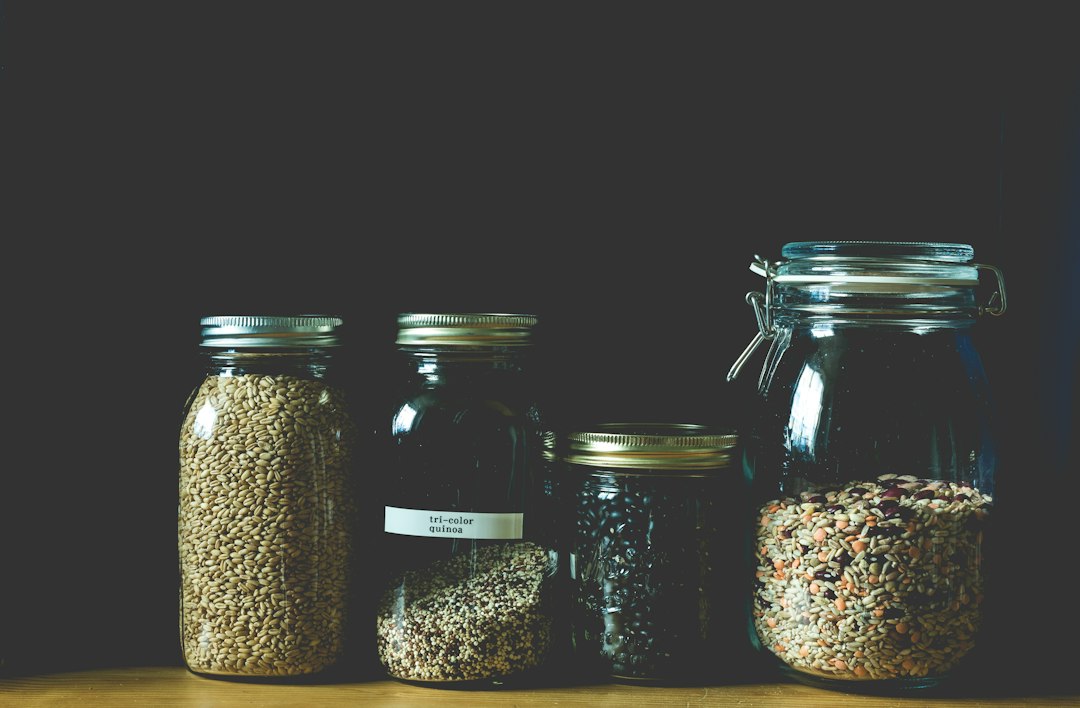
Clear, airtight containers help you see quantities and keep items fresh. Use wide-mouth jars for grains and pasta, square plastic bins for stacked shelf efficiency, and shallow trays for snack packets. General rules:
- Decant open dry goods (rice, flour, oats) into airtight containers to prevent pests and improve visibility.
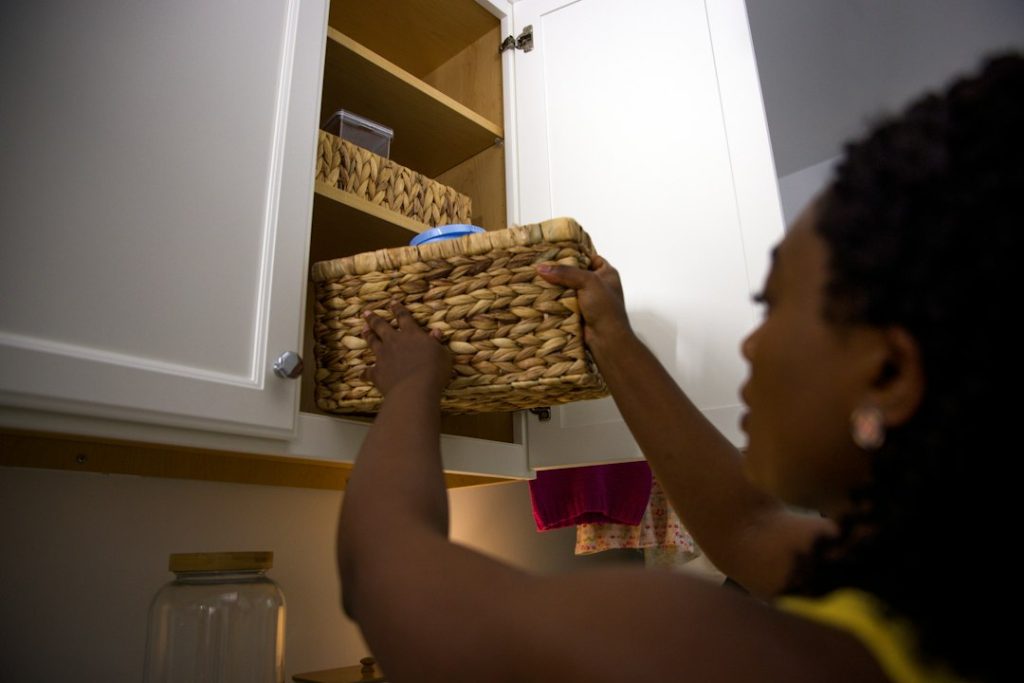
- Group small packets or spice samples into labeled baskets so they don’t clutter shelves.
- Use risers or shelf inserts to double vertical space for cans or boxes.
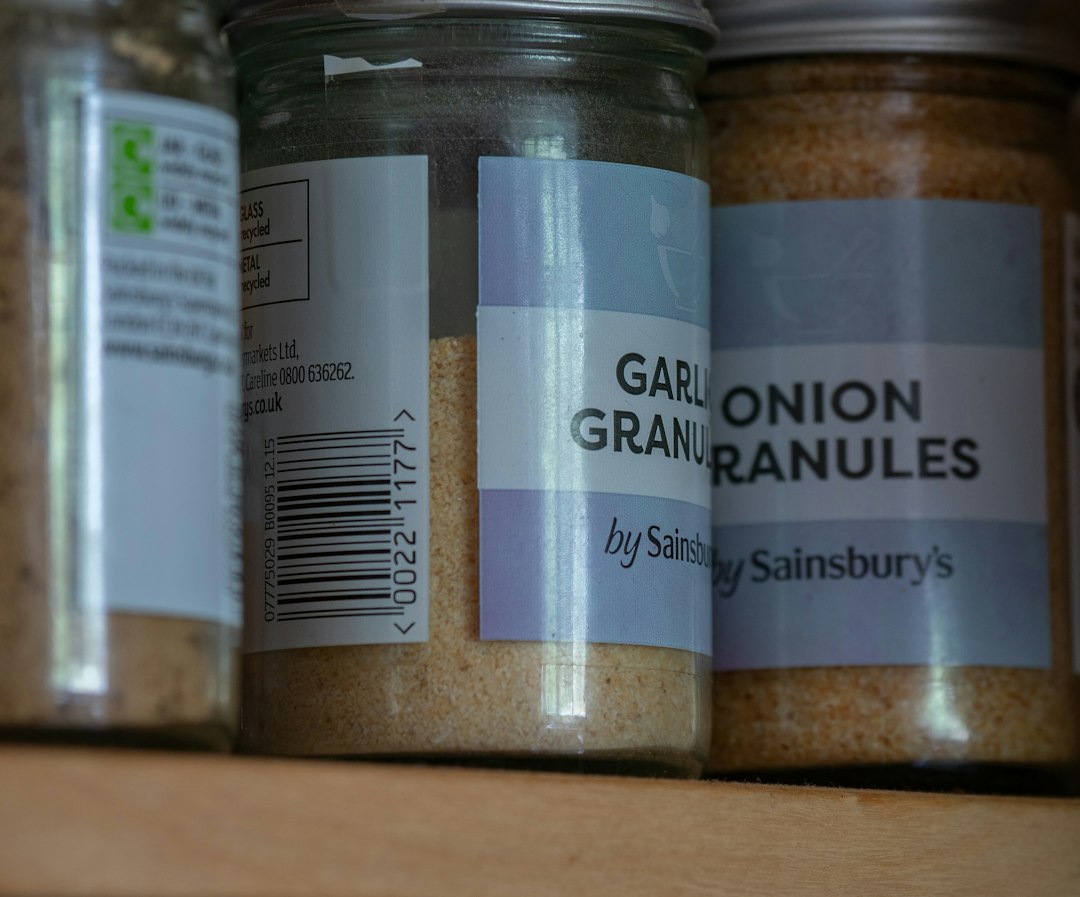
A practical single-item recommendation: for spices and small bottles, a rotating turntable simplifies reach and keeps jars visible. If you want one easy upgrade that pays off immediately, try a rotating spice turntable.
Label smartly so scanning becomes automatic
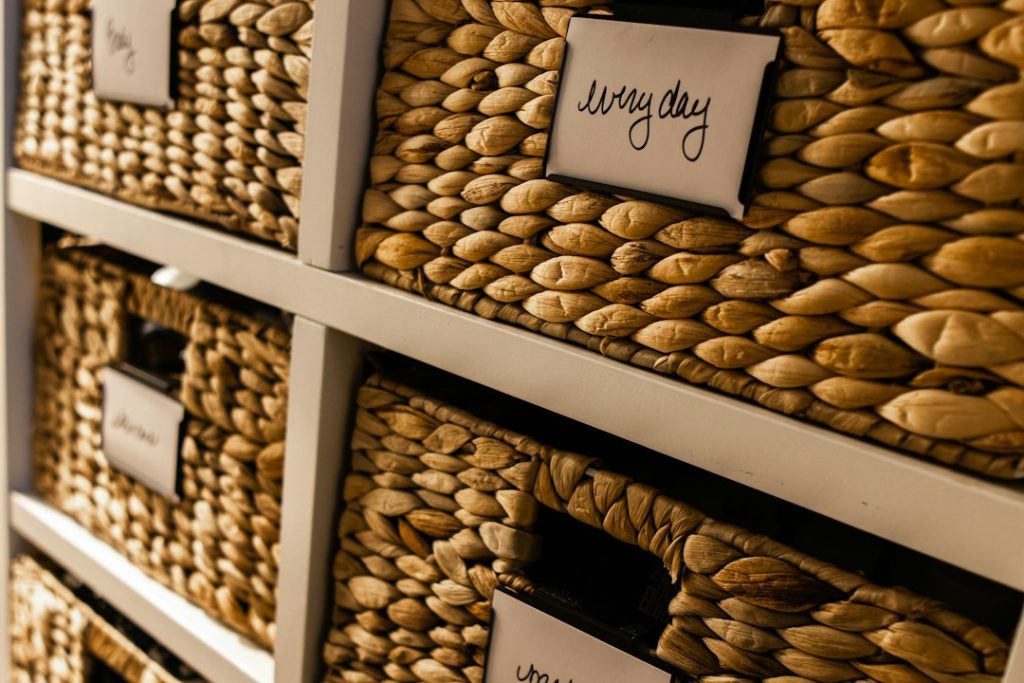
Labels aren’t just for neatness—they speed selection. Label the front of containers with contents and, optionally, the purchase or open date. For children or shared kitchens, use icons or simple words. Keep labels consistent: same font size and placement makes scanning faster.
Implement the “first in, first out” rotation
When you buy replacements, put newer items behind older ones. For boxed or bagged goods where you can’t slide items, add a simple date sticker to the front of the package or container. Rotate canned goods by placing new cans behind existing ones so older cans are used first—this single habit reduces waste and last-minute substitutions.
Use vertical space and small tools to increase accessibility
Maximize height with stackable bins and shelf risers. Install an over-the-door rack for light items or snacks, and keep a step stool nearby if higher shelves are used—time spent fetching is time lost. For spices, the turntable we recommended keeps everything at arm’s reach; for cans, a front-to-back can organizer or riser reduces the need to move dozens of items.
Build a quick inventory and shopping trigger
Place a clipboard, dry-erase board, or phone note near the pantry to jot items you run out of. A one-line inventory—“flour, canned tomatoes, soy sauce low”—is faster than a full list and works well when combined with shopping app photos. Update the list when you put the last of an essential item into the donation/toss pile.
Weekly five-minute reset to keep it working
Take five minutes each week to: wipe sticky spots, pull forward cans to check for dents or expiry dates, and re-stack any fallen containers. A short, consistent reset prevents the small messes that otherwise balloon into hours of reorganizing.
Troubleshooting: common layouts and fixes
Small pantry or one cabinet
Be ruthless about staples: keep a single-serve snack zone and prioritize flat, stackable containers. Use vertical door organizers and rely on meal-kits in a basket for a week at a time.
Large pantry that becomes cluttered
Create a “holding shelf” for new groceries: process that shelf once a day and consign items to zones immediately. If bulk buys overwhelm the space, assign a bulk shelf and decant into uniform clear bins so the massive packages don’t spread mess.
- Clear one shelf completely and sort items into keep/toss/donate/relocate.
- Create at least three zones (everyday, cooking ingredients, snacks) based on your routine.
- Decant open dry goods into airtight, transparent containers.
- Add labels with contents and optional open date for fast scanning.
- Place a visible shopping list or clipboard near the pantry.
- Schedule a five-minute weekly reset to maintain order.
Organizing your pantry is about reducing steps: clear what you don’t use, group by how you cook, use clear storage, and rotate stock. With one small product upgrade and a weekly five-minute habit, you’ll spend less time hunting and more time cooking.
How often should I reorganize my pantry?
Do a full reassessment every 6–12 months and a five-minute weekly reset to keep things tidy and check expirations.
What containers work best for different foods?
Use airtight glass jars for grains and pasta, plastic bins for stacked goods and snacks, and shallow baskets for packets and single-serve items.
How do I stop pests in the pantry?
Airtight containers, regular cleaning, and discarding old opened packages are the primary defenses. Check new bulk purchases before storing.
Can I organize a pantry without spending much?
Yes—use existing baskets, repurpose jars, and prioritize decluttering; invest only in a couple of clear containers or a spice turntable if needed.
Where should I keep overflow grocery items?
Assign a single overflow shelf or large bin and decant bulk items into clear containers so overflow doesn’t obscure regular stock.